» Site Navigation

1 members and 2,785 guests
Most users ever online was 6,337, 01-24-2020 at 04:30 AM.
» Today's Birthdays
» Stats
Members: 75,120
Threads: 248,562
Posts: 2,568,890
Top Poster: JLC (31,651)
|
-
BPnet Veteran


New Homemade Rack w/ Set Up Pics... (DUW Big Time)
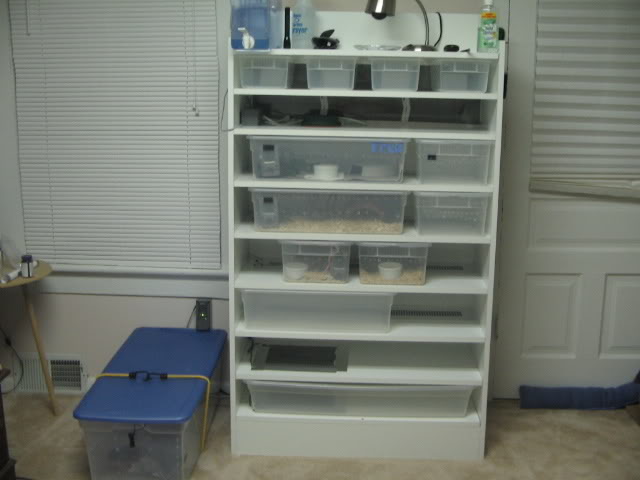
Well it took me long enough but i FINALLY finished my homemade rack. i got the flexwatt from Rich today, and a couple hours later... all done. here is the final product with some snakes, the rest will be arriving aug 8th.
i took pictures of how i constructed it. this is the website where i got the main idea off of: http://www.dozierstudio.com/hatchrack.html i am not taking any credit for this "plan" or anything, i just want to show off this rack that took a lot of my time. i apologize for any blurry pictures, as i don't have the worlds greatest camera, and it doesn't have the greatest camera man...
this is the beginning... the supplies

started the bottom. i left a 6" kick plate so the bottom tubs wouldn't be on the ground.
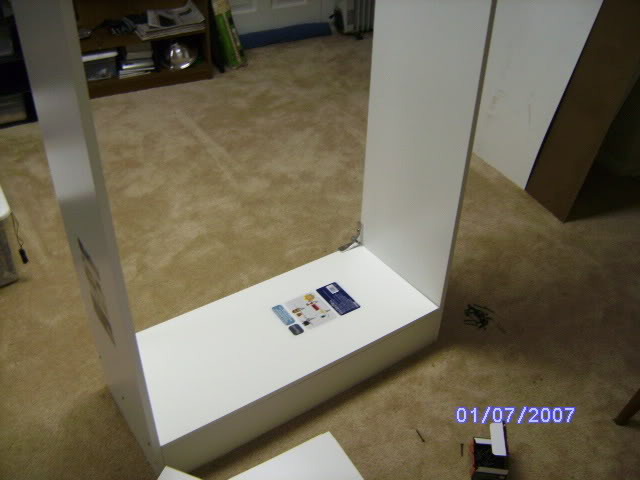
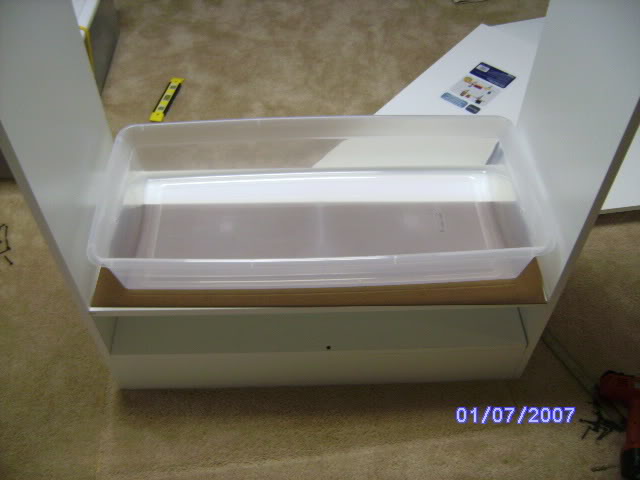
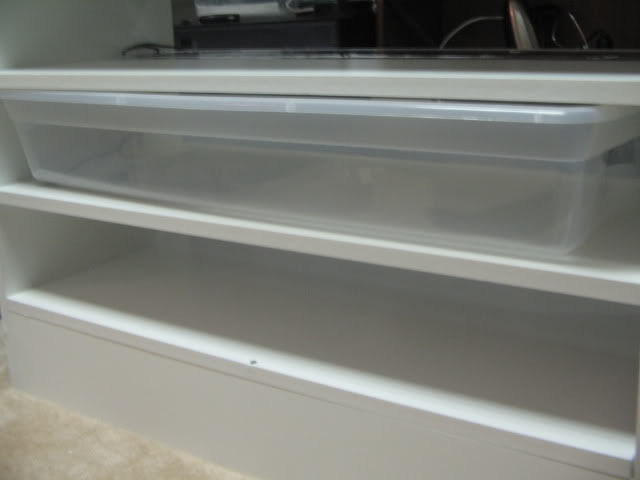
this is how i determined the shelf height. i placed the tub i wanted on the bottom, with a piece of extra melamine backing that was cut for me. thsi gave me some height for the flexwatt and a little gap on the top of the tub for air flow and to help keep the humidity down.
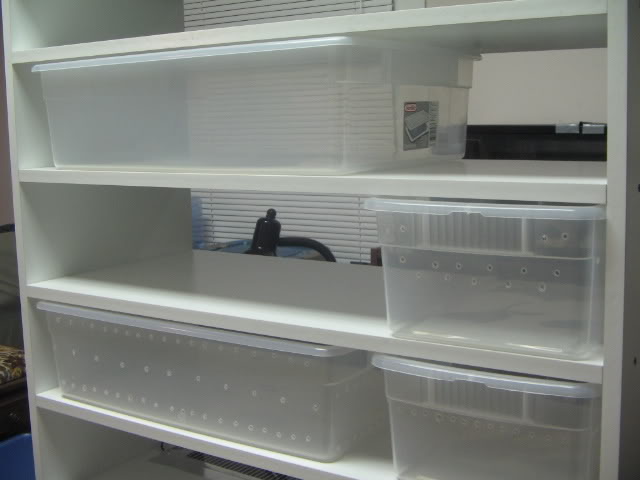
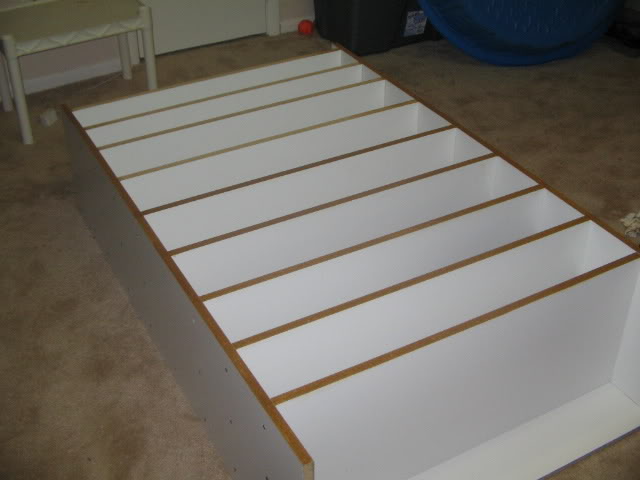
here is it all the shelves made. also the remaining 6" from the kick plate (had 12" board i had to cut) is on top of the rack, so nothing fall down the back and i have some room to hide a power strip.

i just want to show how i set the shelfs up. the top i have 8 6 qt tubs, with 11" back heat. the middle 4 shelves are 32/15 qt tubs with a strip of 4" belly heat. the bottom 2 shelves are 41 qts, heated by a single piece of 11" belly heat. these will be for my big girls.

then i dropped it down and put some water proofer on the back. i did this to any part of the wood that was not covered. hopefully this gives it a little more years of life.

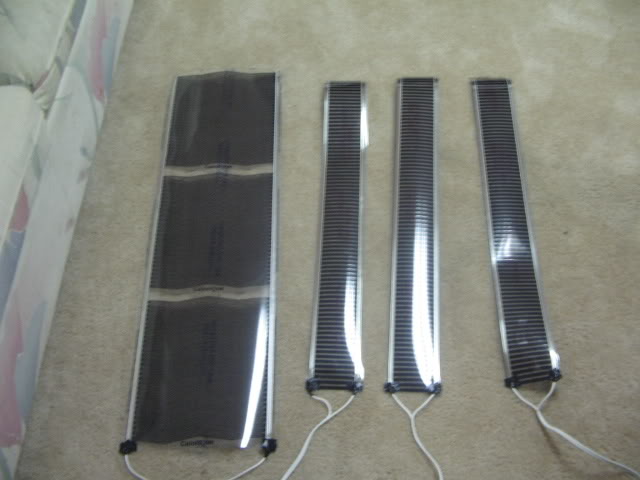
here is some of the flexwatt i got all wired, and ready to go. also i pre cut the aluminum tape so it would be easier to apply.

Flexwatt on the rack...

now to attach the melamine back.

looking good so far.

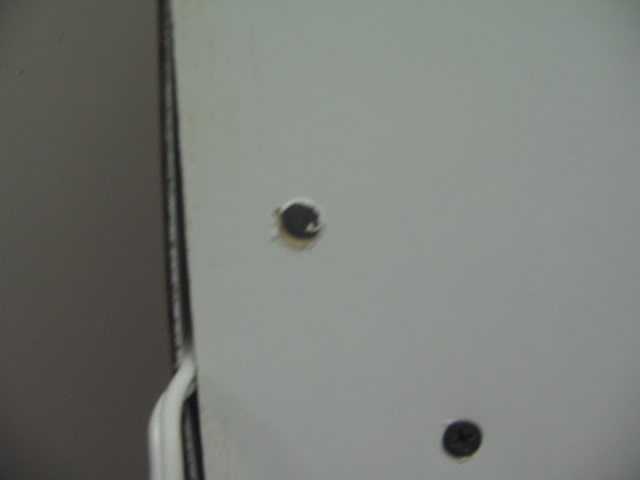
i drilled some holes to put the thermostat probes in and attach to the flexwatt. then i put a piece of aluminum tape over the hole, even on the inside.


finally loaded all the snakes in and put all my stuff on the top shelf. i still have a little work mounting the thermostats, and i plan on making a locking pin for the 41 qt tubs. i also need to find a book shelf for supplies to put next to the rack....
SORRY for such a long post. i just hope this can help some other with ideas to make their own rack. if anyone has any questions, don't hesitate to ask.
Last edited by JLC; 10-28-2007 at 07:55 PM.
-Kevin
-
The Following 9 Users Say Thank You to Kagez28 For This Useful Post:
Burticus (07-04-2019),Christopher De Leon (09-13-2011),cmack91 (10-02-2011),imhumpty (11-04-2017),MoshBalls (07-22-2011),satomi325 (10-02-2011),smc1118 (11-05-2012),TheOtherLeadingBrand (07-06-2009),Yodaaz (07-23-2009)
Posting Permissions
- You may not post new threads
- You may not post replies
- You may not post attachments
- You may not edit your posts
-
Forum Rules
|


 Reply With Quote